
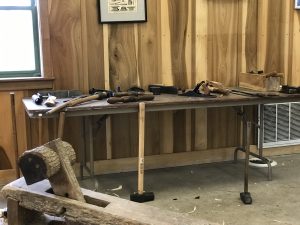
Here in the area we are fortunate to have what is considered a living history museum known as Conner Prairie. Not only is it a neat place to visit, but they also offer classes for both youth and adults. I recently attended one such class offered through their Prairie Pursuits series on Green Woodworking.
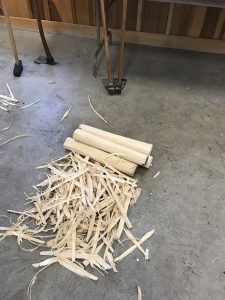
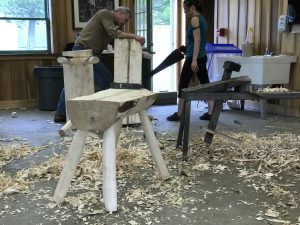
The class started out by selecting a log from the pile of available Ash logs. The logs were between 14" - 16" around and roughly 42" long. After everyone had their log, we were instructed to split our log down the center using large steel splitting wedges and a sledge hammer. Once the 2 halves were separated, I selected the half that I wanted to become the seat and the other half was then split into 4 additional pieces. These pieces would then get taken to the shave horse and turned into rounded legs.
The process of turning the semi square pieces of my log into round legs had to be the most satisfying part of the overall process. There is something about using a drawknife on a piece of green wood locked in a shave horse that I find gratifying. On top of making the legs round, there needed to be a tenon at the end that could then be fit into a 2" hole that would eventually get bored into the underside of the bench.
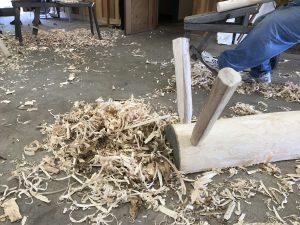
Once I had the legs ready, but before I created the tenons on the ends... there needed to be 4 holes created using an old T-handled auger bit. Of course, be that could be done I needed to first remove all of the bark from the bench. Sure, it wasn't 100% necessary 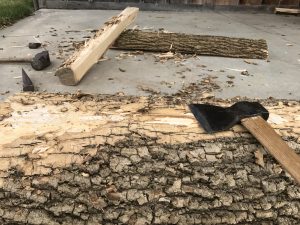 and I'm sure some might prefer the bark on... that's just not the look I was going for, so off came the bark using a hewing axe.
With the bark off and the holes made in the underside of the bench, I set off to create tenons on the ends of each leg. Having marked a 2" circle on the end with a pencil I had no problem getting the tenons created using my trusty drawknife. I made sure to stay outside of my lines so that I could sneak up on the perfect fit. Remember this is green woodworking and the wood will shrink a bit, so a tight joint is desired. Even though a tight joint was the goal, there are a couple factors to keep in mind. First, you
do not want it so tight that it will cause the seat portion to crack or split. Second, we are counting on the round mortise to shrink forming a 'death grip' around the tenon, so it doesn't have to be perfect for it to work.
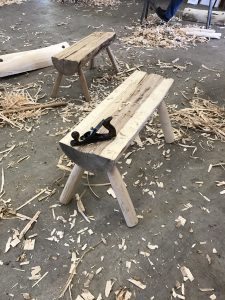
With the tenons fit to each of the holes, the legs were gently tapped into place with a sledge hammer. The bench was then flipped over so we could complete the legs. Using a block of wood and a pencil, a level line was drawn all the way around each of the legs. A traditional western saw was used to then cut the legs along the lines. The result was a bench that sat flat on the floor with good contact all the way around each of the legs.
The final step was to take a scrub plane and flatten the top of the bench only enough to make it pleasant to sit upon. I don't know about you, but I absolutely enjoy taking 'nothing' and turning it into something. This green woodworking class really showed me how enjoyable it can be to work with some of these old hand tools. It just so happens that I have a few ash logs at my house that are begging me to turn them into something! Stay tuned as a shave horse is on my list of projects yet to come on Hangin with Harv.